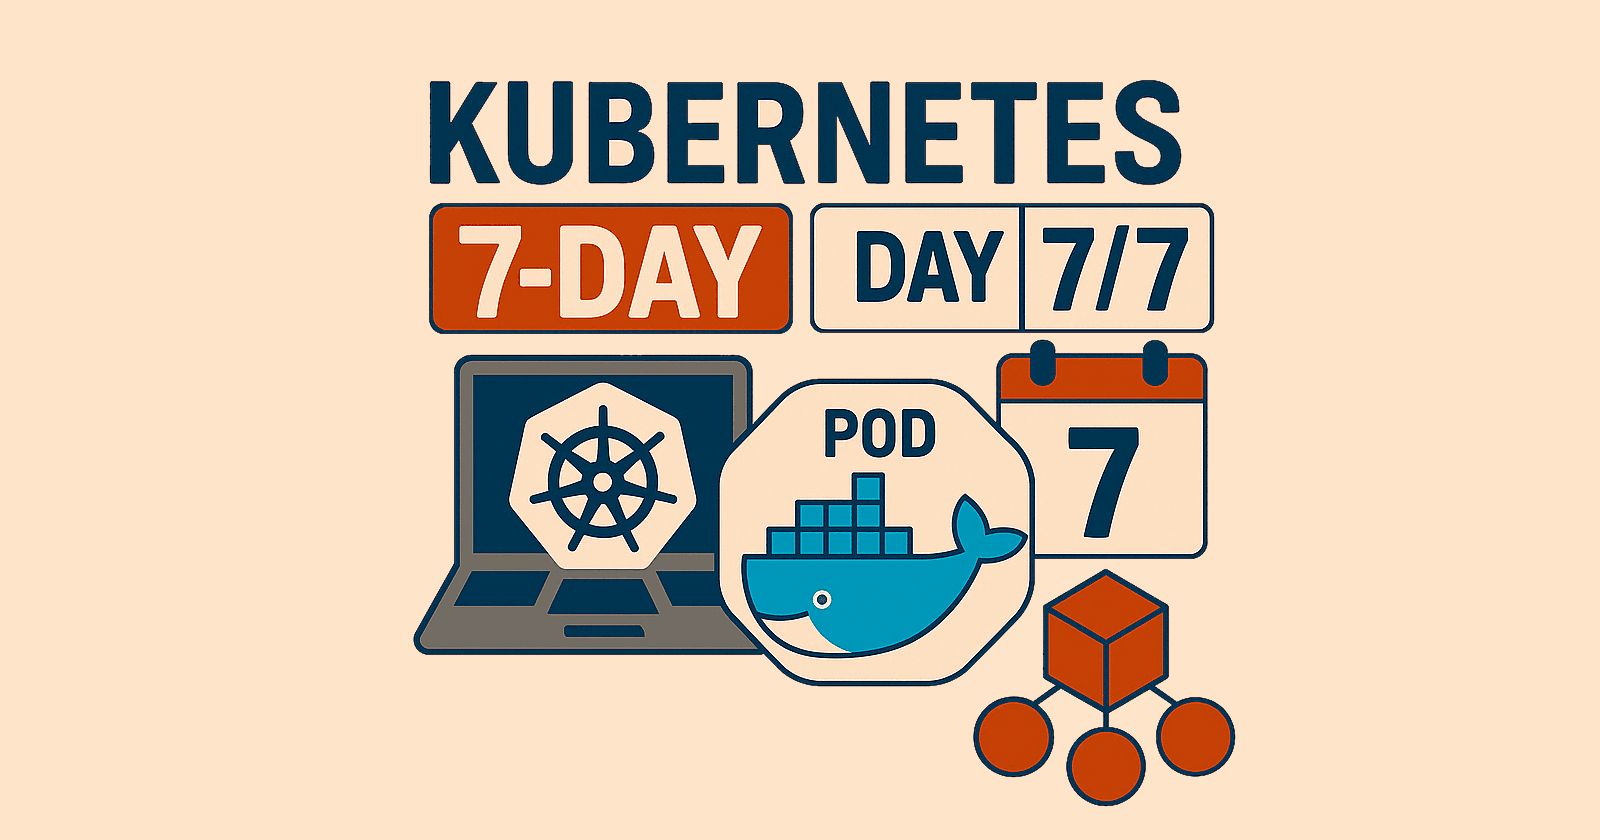
Day 3 - Kubernetes Without The Tears
Labels, Selectors, and Namespaces
It’s only Day3, and we have already got our first Kubernetes app running. We've seen pods in action. We even watched Kubernetes replace a deleted one like it was no big deal.
Now it’s time to talk about something that keeps things from turning into a complete mess when your cluster grows: labels, selectors, and namespaces. It is all about organizing after all - I think. So far, it served me well.
Under the Hood
As your cluster scales from one deployment to dozens (or hundreds), you're going to need a way to find, group, and manage things. Enter labels and namespaces. As developers, we are accustomed to namespaces. Labels, though, are a new concept - especially if you are coming from the C# world. These labels are not the <label> tags we are used to.
So, let’s take a look at the labels first.
Labels: The Sticky Notes of Kubernetes
Labels are key-value pairs you can stick on just about anything—pods, services, deployments, you name it.
Here’s how they look:
labels:
  app: nginx
  env: dev
  tier: frontend
And yes, you are right. Pair having 3 properties? You see, even though the name says "pair," you can have as many of them as you want on a single resource. Think of each key-value pair as a little colored sticky note: one might say "env=dev", another might say "tier=frontend", and so on.
These aren’t just decorative—they’re how Kubernetes (and you) find stuff. You’ll use them in selectors (just keep reading, it’s coming up) to say, “Hey, give me all the pods with app=nginx.”
You can label everything consistently, however you like. But the convention is usually things like app, env, tier, version, etc.
Selectors: The Find Button
Selectors are how you query resources based on their labels.
Remember the YAML file we created yesterday?
apiVersion: apps/v1
kind: Deployment
metadata:
  name: nginx-deployment
spec:
  replicas: 2
  selector:
    matchLabels:
      app: nginx
  template:
    metadata:
      labels:
        app: nginx
    spec:
      containers:
      - name: nginx
        image: nginx:latest
        ports:
        - containerPort: 80
Yes that one. We’ve actually already used one in that file:
selector:
  matchLabels:
    app: nginx
That told the deployment, “Only manage pods with the label app=nginx.”
How does that help and why does it matter? Because it gives you control. You can have multiple pods running different apps, and the deployment won’t touch the wrong ones. It’s like saying, “This flight schedule is only for the planes marked 'nginx'—ignore the rest.” It keeps things tidy, scoped, and safe.
You can also use selectors in the CLI:
kubectl get pods -l app=nginx
kubectl get pods -l env=dev
Or even combine them:
kubectl get pods -l 'app=nginx,tier=frontend'
Namespaces: Your Cluster’s Neighborhoods
As developers, we are accustomed to namespaces, but let’s go through them in the context of K8s.
In K8s, everything lives in the default namespace by default (pun intended) but Kubernetes lets you split things into different namespaces so your dev, staging, and prod stuff don’t bump into each other.
You can also use them to separate teams, apps, or projects. Each namespace has its own set of resources—like a sandbox.
Let’s go through some of the most common commands regarding namespaces:
| Action | Command |
| See all namespaces | kubectl get namespaces |
| Create a new namespace | kubectl create namespace mynamespace |
| Run a file in a namespace | kubectl apply -f your-file.yaml -n mynamespace |
| Target a namespace with CLI | kubectl get pods -n mynamespace |
When you create a new namespace, you are basically saying “Hey Kubernetes, set up a new mini-world called mynamespace where I can deploy stuff without cluttering the default space.”
I know what you’re thinking: Running the command to get the namespaces can get old very fast, isn’t there a way where I can manage these namespaces easier?
Once you have a bunch of namespaces, you can keep track of what you’re working in by setting a default context or organizing your configs by project. We’ll cover that in a future article, but for now we are working with simple namespaces and kubectl get namespaces is our best friend. But we will get there, I promise.
Lab: Organize Your Resources
Let’s put what we learnt to use and make a new namespace, label something, and practice filtering.
Step 1: Create a new namespace
kubectl create namespace dev-space
Step 2: Re-deploy nginx into it
Copy your previous YAML file and add this to the metadata section:
metadata:
  name: nginx-deployment
  namespace: dev-space
Then apply it:
kubectl apply -f nginx-deployment.yaml
Step 3: Add more labels
Edit your deployment YAML and add this under labels:
  labels:
    app: nginx
    env: dev
    tier: frontend
Your final YAML file should look like below:
apiVersion: apps/v1
kind: Deployment
metadata:
  name: nginx-deployment
  namespace: dev-space
  labels:
    app: nginx
    env: dev
    tier: frontend
spec:
  replicas: 2
  selector:
    matchLabels:
      app: nginx
  template:
    metadata:
      labels:
        app: nginx
        env: dev
        tier: frontend
    spec:
      containers:
      - name: nginx
        image: nginx:latest
        ports:
        - containerPort: 80
Then, finally re-apply it:
kubectl apply -f nginx-deployment.yaml
Step 4: Filter like a pro
Try these:
kubectl get pods -n dev-space -l app=nginx
kubectl get pods -n dev-space -l "env=dev,tier=frontend"
Now you’ve got your app running in its own namespace, with labels that make it easy to find and group. These commands above will give you the list of the pods running filtered by your params. Go ahead and change one of the filters by adding a typo to the filter, such as kubectl get pods -n dev-space -l app=nginx1, and you will see that you will get nothing.
Tomorrow we’ll look at how to handle config and secrets the right way.
We’re building the muscle memory now—one YAML file at a time.