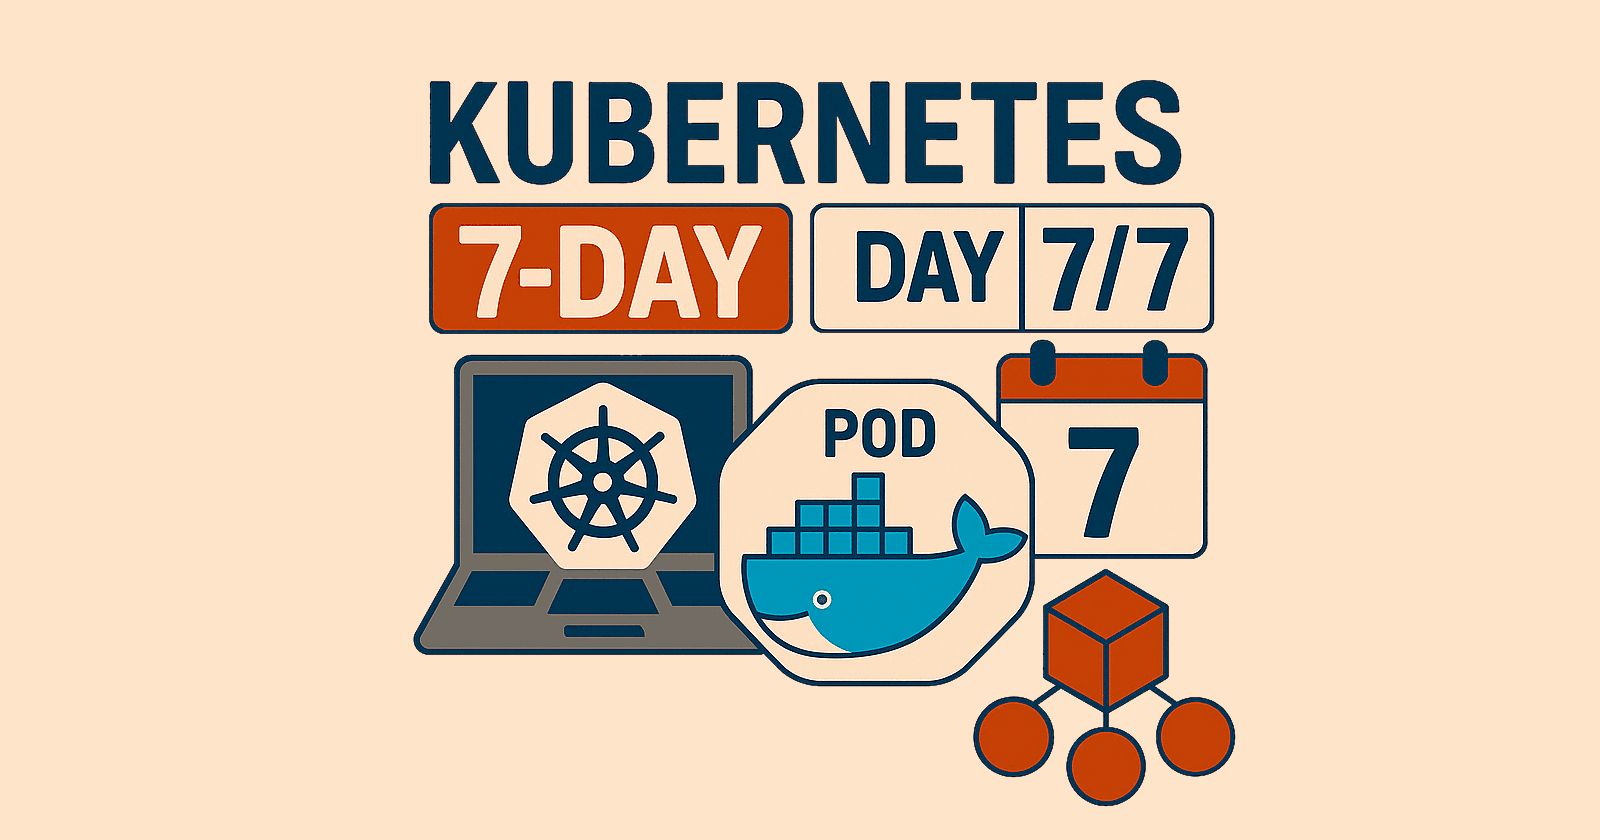
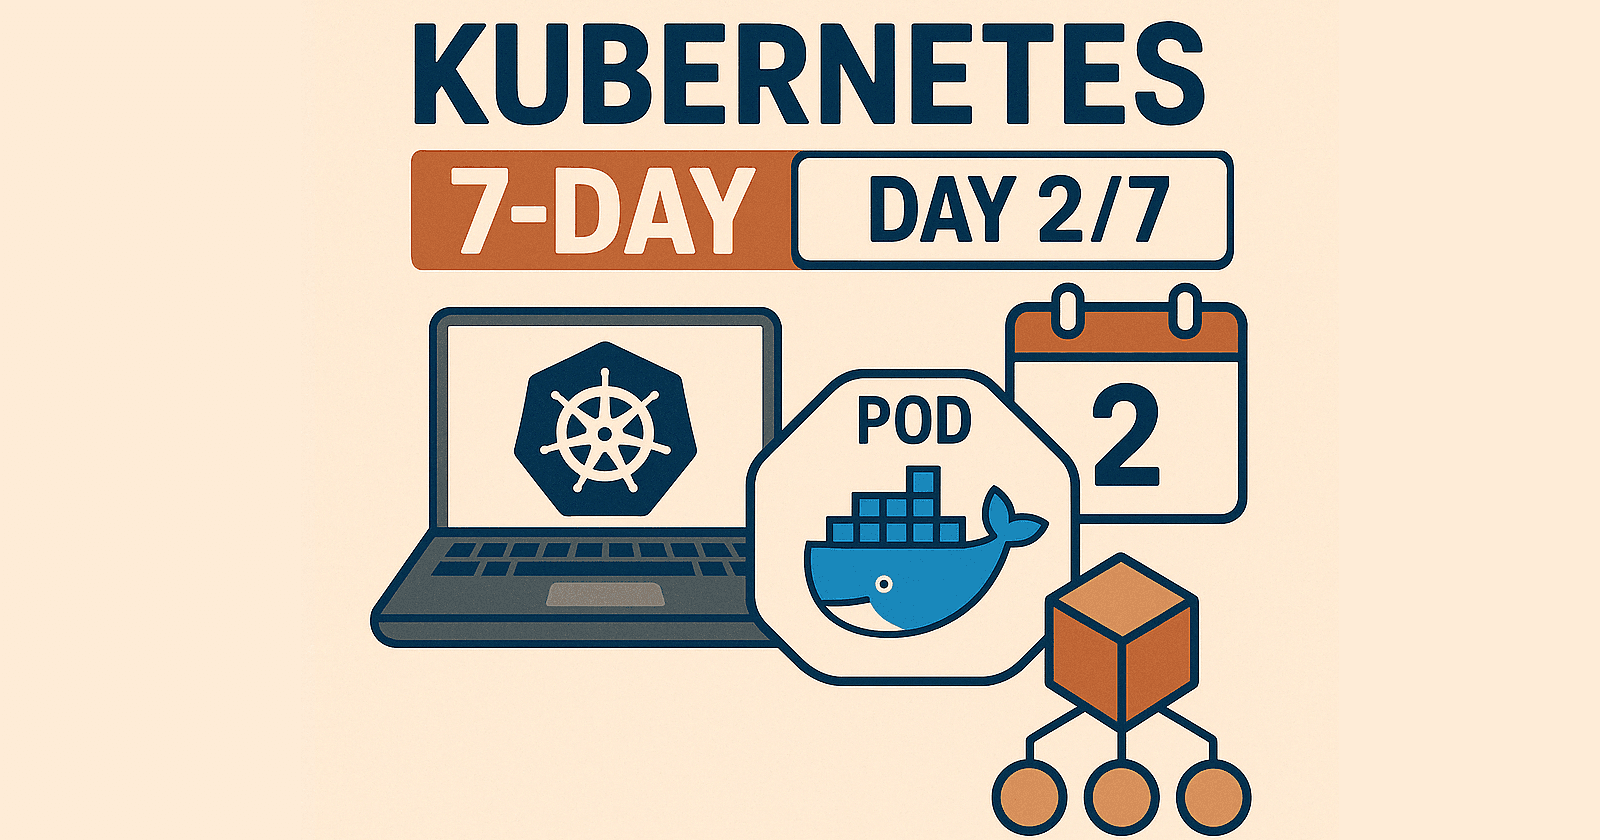
Day 2 - Kubernetes Without The Tears
Pods, Deployments, and Services
Yesterday we got Kubernetes running. We even installed and opened a dashboard and saw some pods in the wild (hopefully) and survived Day 1.
Now it’s time to stop admiring the blinking lights and actually deploy something real.
Under The Hood
If you look at a K8s app, it has three workhorses: pods, deployments and services.
🚁 Airport Control Check
Since everything is new to us right now, let’s revisit our analogy:
Kubernetes is the whole aviation system - managing everything across multiple airports.
The cluster is the entire airport - a complete, self-contained environment.
The control plane is the air traffic control tower - coordinating all operations but not directly handling planes.
Nodes are like terminals or concourses - each hosts multiple airplanes (pods) simultaneously, providing them with power, connectivity, and other resources.
The kubelet is the ground crew at each terminal, making sure planes are where they're supposed to be, handling their needs, and reporting back to the tower.
Pods are like airplanes - they carry the containers and ensure they're treated as one unit.
Containers are like the cargo or service modules within an airplane - they do the actual work (running your app).
Services are like the airport's passenger routing system - directing traffic to the right planes regardless of which gate they're at.
Deployments are like flight schedules - ensuring the right number of identical planes are operating at all times.
ConfigMaps/Secrets are like flight plans and security clearances - providing necessary configuration and sensitive information.
Persistent Volumes are like airport storage facilities - providing persistent storage that exists independently of any particular plane.

Pods (Recap)
We already know a pod is the smallest deployable unit in Kubernetes. It wraps one or more containers and makes them look like a single thing to the cluster. Think of it like different airplanes with different engine combinations. Some will have a single engine, some will have two, some three and so on. No matter how many engines a plane has, it still takes off and lands as one airplane. Same thing.
In most real-world apps, each pod has just one container.
Deployments
If pods are the planes, deployments are the flight schedulers. A deployment says, “I want three copies of this pod running at all times.” And Kubernetes says, “Cool, I got you.”
Deployments let you:
Run multiple copies (replicas) of your app
Roll out updates gradually
Roll back if something breaks
Services
Now that we got pods running, we need to find a way to communicate with them. How does anyone talk to them?
This is where services come in.
Services are the stable access points to your pods. They don’t care how many replicas are running or if some of them just exploded—they’ll always find the healthy ones.
There are three common types of services:
ClusterIP(default): Internal access only (pod-to-pod)NodePort: Exposes your app on a static port on each nodeLoadBalancer: For cloud setups—provisions an actual load balancer
For now, we’ll use NodePort so we can test everything locally.
I think that’s enough information for today, don’t you? Let’s see them in action and get something up and running.
Lab: Deploy Your First App
We are going to tackle this in three steps. First we are going to create a YAML file, then we are going to apply it to our cluster and check that it is running. Once we get all that going, we are going to expose it with a service and access it using our browser.
{ key: value } - YAML is kind of like that, just a different format (like Python indentation matters).Step 1: Create a YAML file
So, in this file we are telling Kubernetes that we want two pods running nginx and Kubernetes reads it and makes it so. Naturally we will call the file nginx-deployment.yaml.
I think I hear you asking “What is nginx?”. Well, It’s a super lightweight web server that’s perfect for demos. Kind of like “Hello World” of web apps. It serves static pages, handles traffic and does not complain much. Great for testing if things are working without needing to write any code.
It’s a good idea to create a folder to keep all your YAML files for this series organized. You could call it something like k8s-lab and put each day's files in there. That way your terminal doesn’t turn into a graveyard of randomly-named configs.
apiVersion: apps/v1
kind: Deployment
metadata:
  name: nginx-deployment
spec:
  replicas: 2
  selector:
    matchLabels:
      app: nginx
  template:
    metadata:
      labels:
        app: nginx
    spec:
      containers:
      - name: nginx
        image: nginx:latest
        ports:
        - containerPort: 80
In the code above, we declare two replicas - this is to show that Kubernetes handles replicas and it spins up two identical pods without blinking. Magic. We will also use this number later to demonstrate another magic of Kubernetes.
Step 2: Apply it
Let’s now tell Kubernetes about our YAML file so it can read it and make it happen.
Navigate to your k8s-lab folder where the YAML file lives. Since kubectl is in your system PATH, you can run the apply command from that directory just like any other CLI tool.
kubectl apply -f nginx-deployment.yaml
Check that it’s running:
kubectl get deployments
kubectl get pods
You will get confirmation messages after every command. Finally, when you run the command to get the pods, you should see something similar to this image below:

In this instance, one of my pods was still being created. If I run this command again, i see that both pods are running. Pretty neat, isn’t it?
Step 3: Expose it with a service
kubectl expose deployment nginx-deployment --type=NodePort --port=80
Now find the port Kubernetes assigned with the command below:
kubectl get service nginx-deployment

Then all you need to do is to access it in your browser:
http://localhost:<NodePort>
Replace <NodePort> with the actual port number.
🎉 Boom—your first real Kubernetes app is running.

You have to admit that this is minimal work to get a webserver up and running. But, wait! There is one more trick that I want to show you and that is nothing short of awesome.
Bonus Step: Delete a Pod and Watch K8s Resurrect it
Now, run this code again to get a list of the pods:
kubectl get pods
Pick one unlucky pod name (like nginx-deployment-xxxxxxx) and delete it with the following command:
kubectl delete pod <pod-name>
and then immediately run the same command to get the list of the pods:
kubectl get pods
You’ll see Kubernetes spin up a replacement automatically. That’s the self-healing magic of deployments.
It’s like air traffic control saying, "We lost a plane, launch another." And it just... happens. It’s a kind of magic.
What’s Next
Tomorrow we’ll talk about how Kubernetes keeps track of all these objects and how to group, label, and namespace things properly.
You’re no longer just running containers. You’re orchestrating self-healing containers. See you on Day 3!